

Invoicing, the process of billing customers for goods and services, has always played a crucial role in every business. With the advent of technology, companies have shifted from traditional paper-based invoicing to electronic invoicing, also known as e-invoicing. E-invoicing has many advantages over conventional invoicing, including faster processing times, reduced costs, and improved accuracy. This blog will discuss implementing e-invoicing in your business in a step-by-step guide.
What is einvoicing?
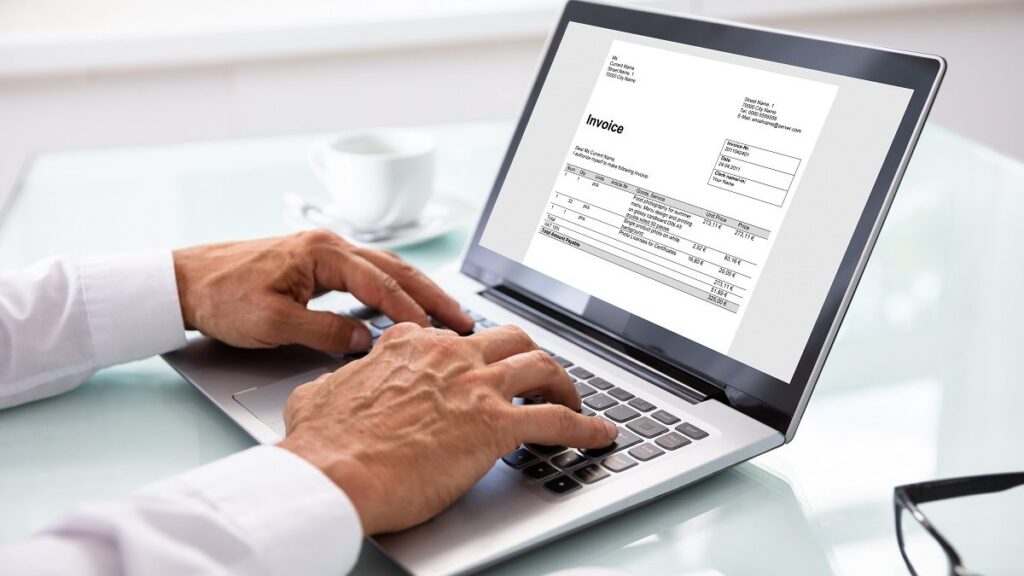
E-invoicing is the process of sending and receiving invoices electronically without the need for paper-based documentation. It involves using a digital platform to create, send, and receive invoices. E-invoicing has become increasingly popular among businesses due to its various benefits, including faster processing times, reduced costs, and improved accuracy. With e-invoicing, companies can send invoices in real-time, which can help to improve cash flow and reduce payment delays.
Steps to implement e-invoicing in your business.
With the onset of digitization, everything related to you and your business has turned electronic; invoicing is no different. With this shift, learn the steps to move towards e-invoicing, making your business easier!
Step 1: Choose an e-invoicing provider.
The first step in implementing e-invoicing in your business is to choose an e-invoicing provider. Many e-invoicing providers are available, so choosing one that meets your business’s needs is essential. Look for a provider that offers features such as automated invoicing, online payment options, and customizable invoice templates. Considering the provider’s cost and additional fees or charges would be best.
Step 2: Set up your e-invoicing account.
Once you have chosen an e-invoicing provider, setting up your e-invoicing account is next. This typically involves creating a username and password and providing basic information about your business. You may also need to provide your business’s bank account information so that payments can be deposited directly into your account.
Step 3: Customize your invoice template.
After you have set up your e-invoicing account, the next step is to customize your invoice template. Most e-invoicing providers offer customizable templates that you can use to create professional-looking invoices. You should include your business logo, contact information, and any other relevant information that you want to appear on your invoice. You should also have clear payment terms, such as the due date and any late fees that may apply.
Step 4: Create and send your first e-invoice.
Once you have customized your invoice template, the next step is to create and send your first e-invoice. To create an e-invoice, enter the relevant information into the template, such as the customer’s name, the amount owed, and other relevant details. You can then send the invoice to the customer electronically through email or the e-invoicing platform.
Step 5: Track your invoices.
After you have sent your e-invoice, tracking it to ensure it has been received and paid is essential. Most e-invoicing providers offer a tracking feature that allows you to see when your invoice has been opened and whether it has been paid. This can help you to follow up with customers who still need to pay and to ensure that your cash flow is healthy.
Step 6: Accept online payments.
One of the benefits of e-invoicing is that it allows you to accept online payments from your customers. To do this, you will need to set up a payment gateway, which is a service that allows you to accept credit card payments online. Many e-invoicing providers offer integrated payment gateways so that you can accept payments directly through your e-invoicing platform.
Step 7: Automate your invoicing process.
Finally, once you have implemented e-invoicing in your business, you should consider automating your invoicing process. Many e-invoicing providers offer automated invoicing features, which can save you time and improve the efficiency of your billing process. With automated invoicing, you can set up recurring invoices for regular customers and schedule invoices to be sent at specific intervals. This can help reduce the manual work required and ensure that your invoices are always sent on time.So, implementing e-invoicing in your business can have many benefits, including faster processing times, reduced costs, and improved accuracy. Following these seven steps, you can quickly implement e-invoicing in your business and reap these benefits.
Remember to choose an e-invoicing provider like EnKash, a spend management platform that meets the requirements of your business. It can help you to customize your invoice template, track your invoices, accept online payments, and automate your invoicing process. Doing so can improve your cash flow, reduce payment delays, and make your billing process more efficient.
So why wait? Start implementing e-invoicing in your business with EnKash today and see the difference it can make!